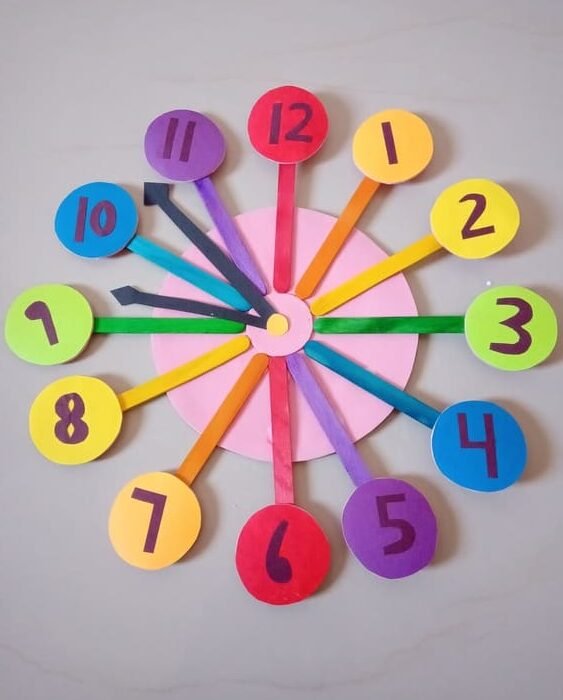
Meet Mamta Singh: Mamta Singh, a devoted mother and avid crafter, shares her journey of creativity with her 5-year-old son. Originally from a small village in Uttar Pradesh, Mamta pursued a career in the hotel industry before dedicating her time to her son. Her passion for art and craft has blossomed into various creative projects, which she now enjoys with her little one. Today, she shares an exciting DIY activity that parents can do with their toddlers.

Step-by-Step Guide to Making a Paper Clock:
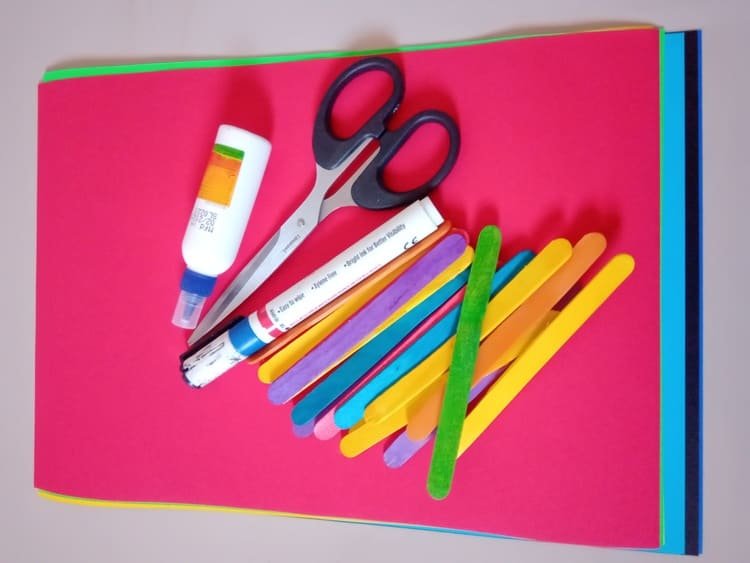
Step 1: Gather Your Materials Collect 6 different colored papers, one thick paper for the base, colored candy sticks (or paint regular sticks with watercolor), glue, a black sketch pen, scissors, and your eager toddler!
Step 2: Create the Base With your toddler’s help, cut out two circle shapes, each about 14cm in diameter, from the thick paper. Encourage them to participate by holding the scissors or helping with gluing.
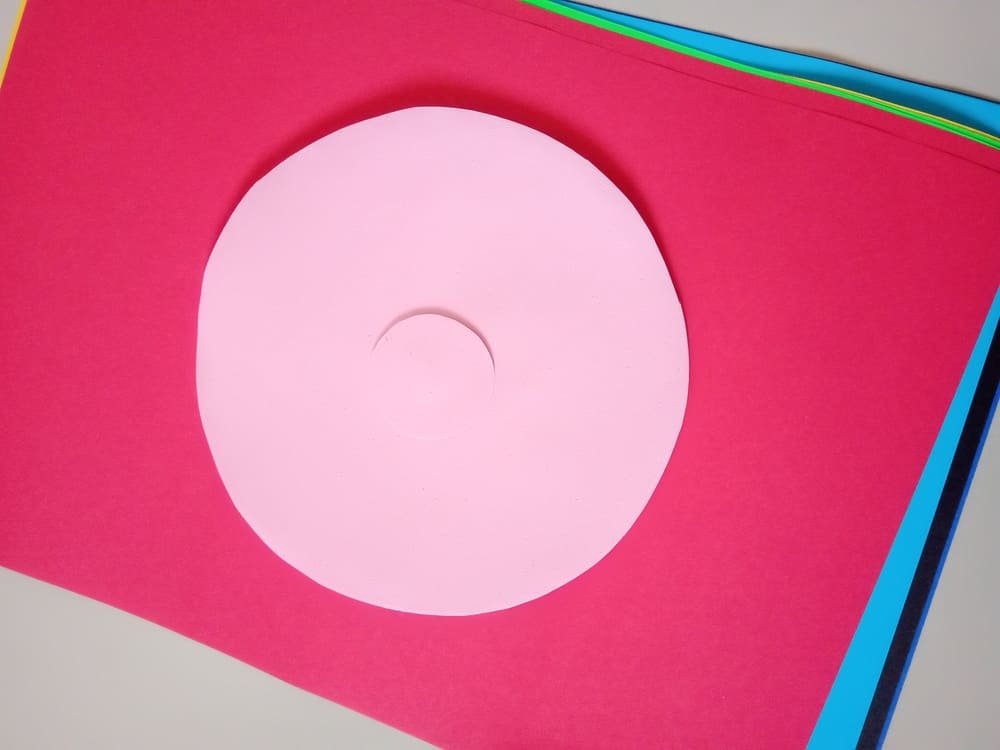
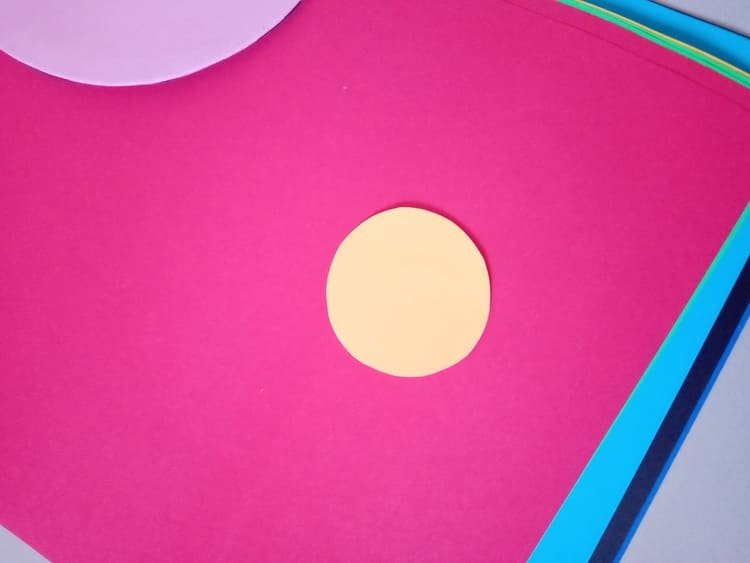
Step 4: Prepare the Numbers Together, cut out 12 circle shapes, each about 4cm in diameter, from the multi-colored paper. Invite your toddler to assist in writing numbers 1 through 12 on each shape using the black sketch pen. Alternatively, they can help by sticking pre-cut numbers onto the colored circles.
Step 5: Attach the Numbers Engage your toddler in the process of attaching each numbered circle to a colored candy stick. Encourage them to match the colors according to the pattern provided.

Step 6: Assemble the Clock With your toddler by your side, use glue to affix the candy sticks with numbers onto the base. Guide them as they follow the pattern shown in the picture. Let them help place the clock hands in the center of the clock.
Step 7: Activities with Your Paper Clock:
Learning Time: Use the paper clock to teach your toddler about numbers and telling time. Move the clock hands together and practice saying the numbers aloud.
Color Matching Game: Encourage your toddler to match the colored circles with objects around the house. For example, find something red for the circle with the number 1, and so on.
Step 8: Display Your Masterpiece Once complete, display your beautiful paper clock in your toddler’s room. Celebrate your joint effort and enjoy the colorful addition to your home décor!
Enjoy this bonding experience with your toddler as you create a fun and educational paper clock together.

